
Codex Entry: Databricks.CLI.Windows10.0465
The documentation (as of 2/16/2019) for installing and setting up the Databricks CLI is sort of sparse and causes a lot of confusion. It gives the general steps, but this codex entry sets out to make it much more straight forward when it comes to setting up the CLI on a Windows 10 machine.
Pre-Requisites
- Windows 10
- Python 3.6+
- pip (Python package manager) (How-To-Install-Pip)
- Azure Databricks Workspace
The Steps
- Install databricks-cli Using Pip
- Create a Personal Access Token in Azure Databricks Workspace
- Configure the access between the CLI and the Databricks Workspace
- Test the connection/access of the CLI to the workspace
Step 1: Install databricks-cli Using Pip
Open your command prompt and execute the following command to install the necessary python package ‘databricks-cli’ to get access to the CLI commands for Databricks

Step 2: Create a Personal Access Token in Databricks Workspace
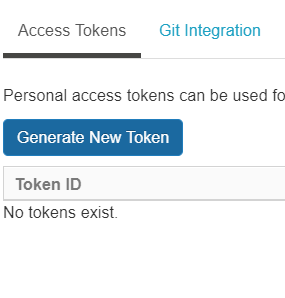
Go to your Azure Databricks Workspace and then navigate to “User Settings”

Then click “Generate Token”
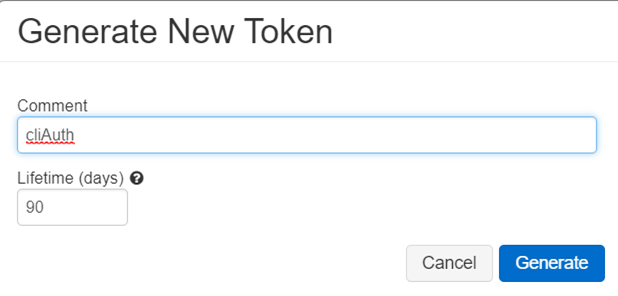
Give the token a name a lifetime (how long the token should be valid in days)
Copy the value shown after clicking “Generate”
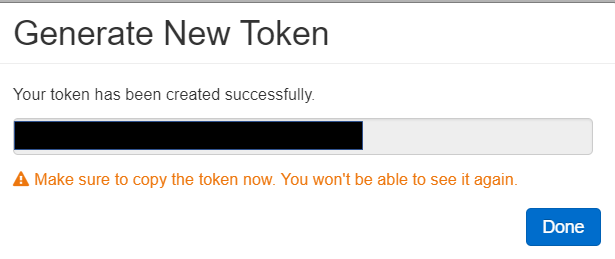
This value will not be shown again, so do remember to copy it. Now go back to the Command Prompt.
Step 3: Configure the access between the CLI and the Databricks Workspace
In the command prompt, execute ‘databricks configure –token’ which will then prompt you for two things: Databricks Host and Token.

The Databrick Host can be found in the URL when you are in the Databricks Workspace. Do not include the value after “.net” (i.e. ?=298493 or something to that effect). You only need the first part as shown in the screen shot above.
The Token value should be the copied Personal Access Token Value. Copy it next to “Token:”
Step 4: Test the Connection/Access of the CLI
Execute a simple command like “databricks workspace ls” and you should see something like the following demonstrating that the CLI can access your Databricks Workspace.

Conclusion
You can now access the workspace and run CLI commands to things like schedule jobs, import ipynb files, or create Databricks Secrets for confidential credentials like connection strings or primary keys.
Check out this link for more details from Databricks on how to use the CLI.
